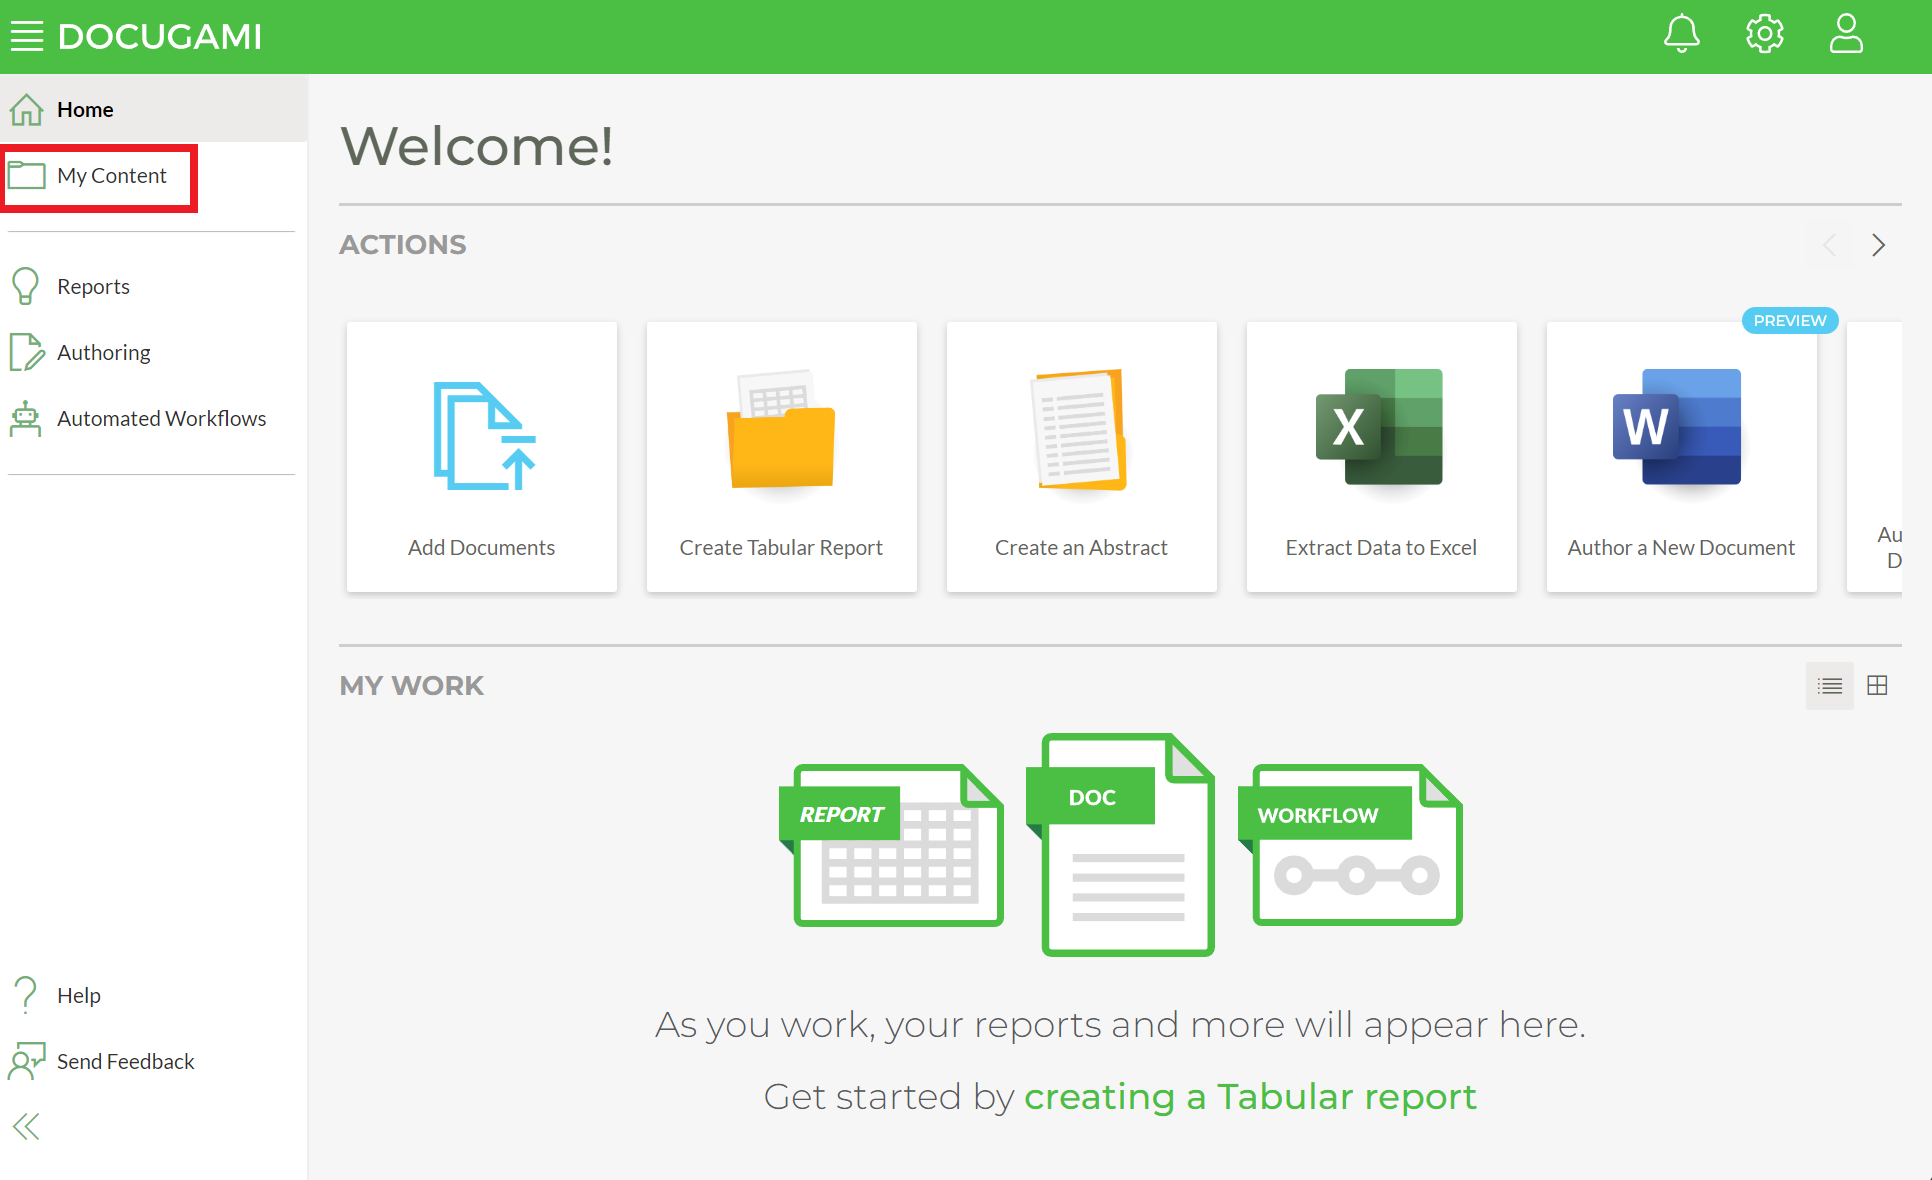
You can do this in the My Content pane which can be accessed in the left-hand navigation bar.
Once opened, the My Content pane allows you to Add Documents, organize them into Doc Sets, review any Unassigned or Error Documents as well as access Sample Docs. To start, click Add Docs and you will be presented with two different options to choose from - you can either uploaded documents directly from your hard drive or you can choose to connect to a Third-Party Online Storage system like Sharepoint or Box and connect docs from them.

To upload from your computer, select the My Computer icon and from the dropdown select either files, which will allow you to pick individual documents, or individual folders which will allow you to select and upload entire folders. For the sake of organization, we suggest you have your documents already organized into folders that make sense to you since this structure will be maintained within Docugami but the choice is up to you.
Once you select files or folder, an operating system window will allow you to either pick individual files (if you selected files) or one folder at a time (if you selected folder) and then click Open. This will add them to a queue and you may then either choose to Add More Docs or click Finish which will begin the upload process. You can continue this process until you have added all the files or folders to upload that you need.

Once you have added your documents, Docugami will start processing them automatically. Once processed, documents will be automatically organized into Doc Sets.